

NR LINE
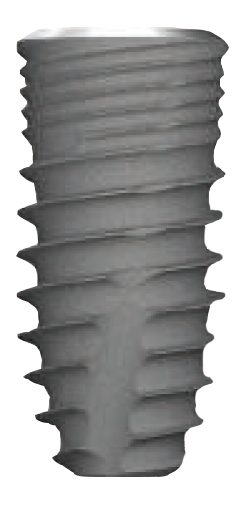
SIMPLE SURGICAL PROCEDURE FOR NARROW RIDGE
• Narrow but strong
• Well synchronized design
• Double thread design
• Firm and stable connection (internal 10˚ taper & square shape)
NR LINE
SIMPLE SURGICAL PROCEDURE FOR NARROW RIDGE
• Narrow but strong
• Well synchronized design
• Double thread design
• Firm and stable connection (internal 10˚ taper & square shape)

NR LINE
COLOR CODING BY DIAMETER
|
Cap Color |
 |
|
|
Fixture NR Line |
 |
|
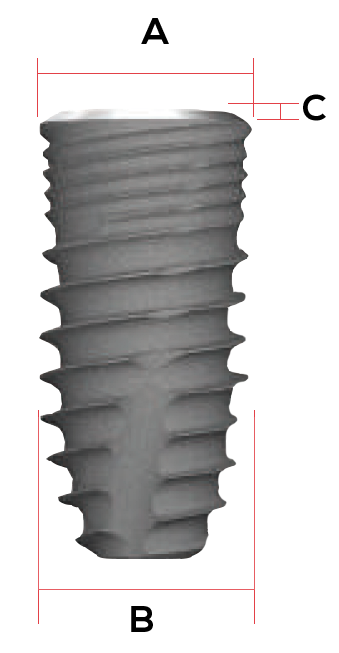 |
A Platform |
3.2 |
|
B Body |
3.1 | |
|
C L:77B Bevel |
||
|
C L:7,9,11,13 Bevel |
0.03 | |
| Selection Guideline | Anterior | |
NR LINE
COLOR CODING BY DIAMETER
|
Cap Color |
|
|
|
Fixture NR Line |
|
|
|
A Platform |
3.2 |
|
B Body |
3.1 | |
|
C L:77B Bevel |
||
|
C L:7,9,11,13 Bevel |
0.03 | |
| Selection Guideline | Anterior | |

NR LINE
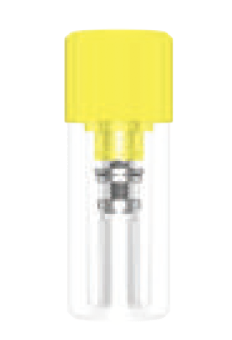
Abutment Screw
• Ø1.9 hole size for occlusion
Abutment Screw
• Ø1.9 hole size for occlusion

NR LINE
Hybrid Zone For
Bone & Soft Tissue
• Compatible with bone & tissue level
• Stress free GBR
Hybrid Zone For
Bone & Soft Tissue
• Compatible with bone & tissue level
• Stress free GBR

NR LINE
Extended thread design
• Extended thread design helps increase the initial stability
Extended thread design
• Extended thread design helps increase the initial stability

NR LINE
Firm & Stable Connection
(Internal 10° taper & square shape)
• Less screw, abutment & fixture fracture.
• 10 ̊ taper & square shape between implant and abutment interface ensures tight sealing.
• Square connection
Firm & Stable Connection
(Internal 10° taper & square shape)
• Less screw, abutment & fixture fracture.
• 10 ̊ taper & square shape between implant and abutment interface ensures tight sealing.
• Square connection